
How to Create a Formation in OnChalk
A formation is where your players line up before anyone does anything. Build it once in OnChalk and you can stamp it into every play that uses it. When you tweak your spacing in week six, every play built on that formation follows. You don’t have to build all eleven at once: OnChalk lets you save a full formation or just one group, then mix and match them when you draw a play.
Full formations, or one group at a time
Coaches build formations two ways in OnChalk, and both are worth using:
- Full formations — complete personnel, all eleven spots set. Your base looks: Spread, Double Wing, Split Right. Stamp one in and the whole alignment is there.
- Group formations — just one unit. A receiver set (trips right, twins, empty), an O-line front, a backfield look. Each one saved on its own.
The point of group formations is that they combine. Pair an O-line front with a receiver set and a backfield look and you’ve built an alignment without placing a single player by hand. You can swap one group without disturbing the others. Same line, three different receiver sets, three plays. Change your line splits once and every play built on that front picks it up, whatever the receivers were doing.
Most coaches end up with a handful of full formations for their base offense and a small library of groups for the variations. Build the ones you actually run; you can always save a new group the first time you need it.
Why formations come first
If you draw each play from an empty field, you re-place eleven players every time, and your spacing drifts. Define the formation once and every play built on it starts from the same alignment. Change the formation later and the plays that use it come with you. You fix the spacing in one place, not in thirty diagrams!
Name it the way you call it
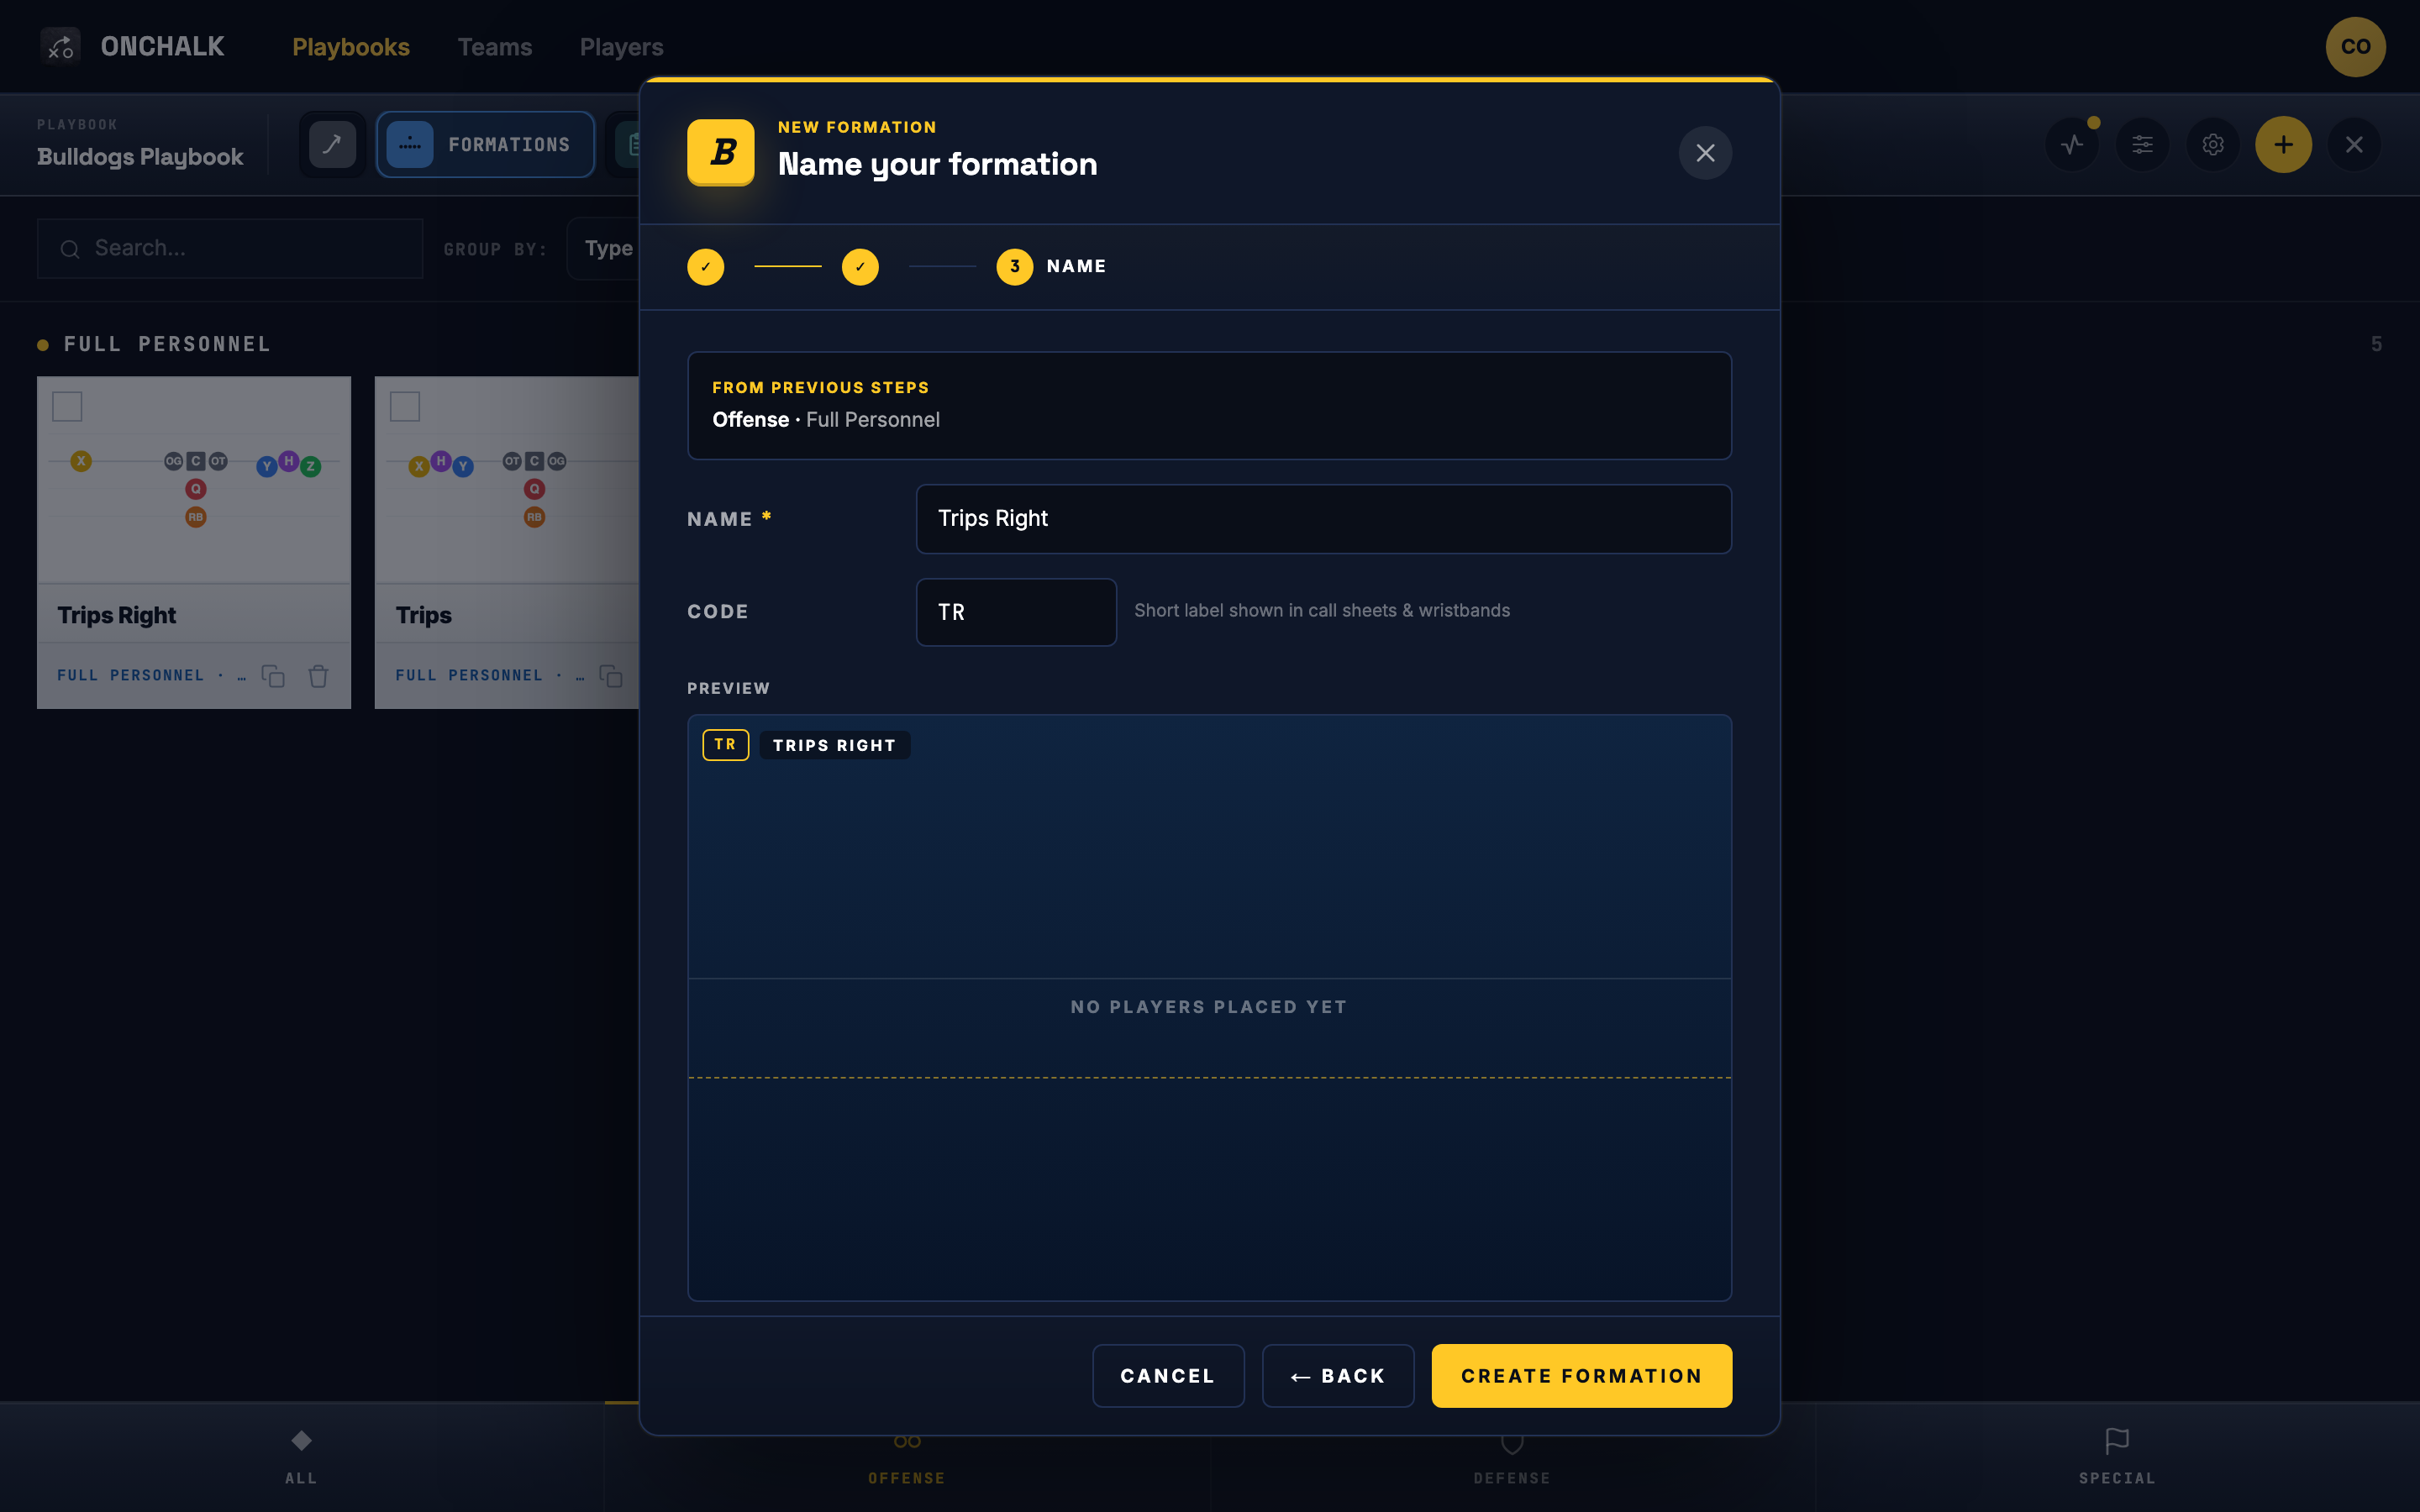
Give the formation the name you actually say at practice: Spread, Double Wing, Split Right, Y Tight Offset. This is the name that shows up in the play designer, in your plays library filters, and on your playsheets, so use the word your kids already answer to rather than a technical description. Add a short code too (here, TR for Trips Right). That’s the tag that prints on your wristbands and call sheets.
Place the personnel
Decide first whether this is a full formation or a group. All 9/11/12 people (depending on your game), or just the receivers, the line, or the backfield. Then set the spots. Each one carries a position: X, Y, Z, H, Q, RB. That label is what tells OnChalk who to show which assignment later. A kid who plays X sees the X’s job on every play built from this formation, so getting positions right here saves you explaining it eleven times.
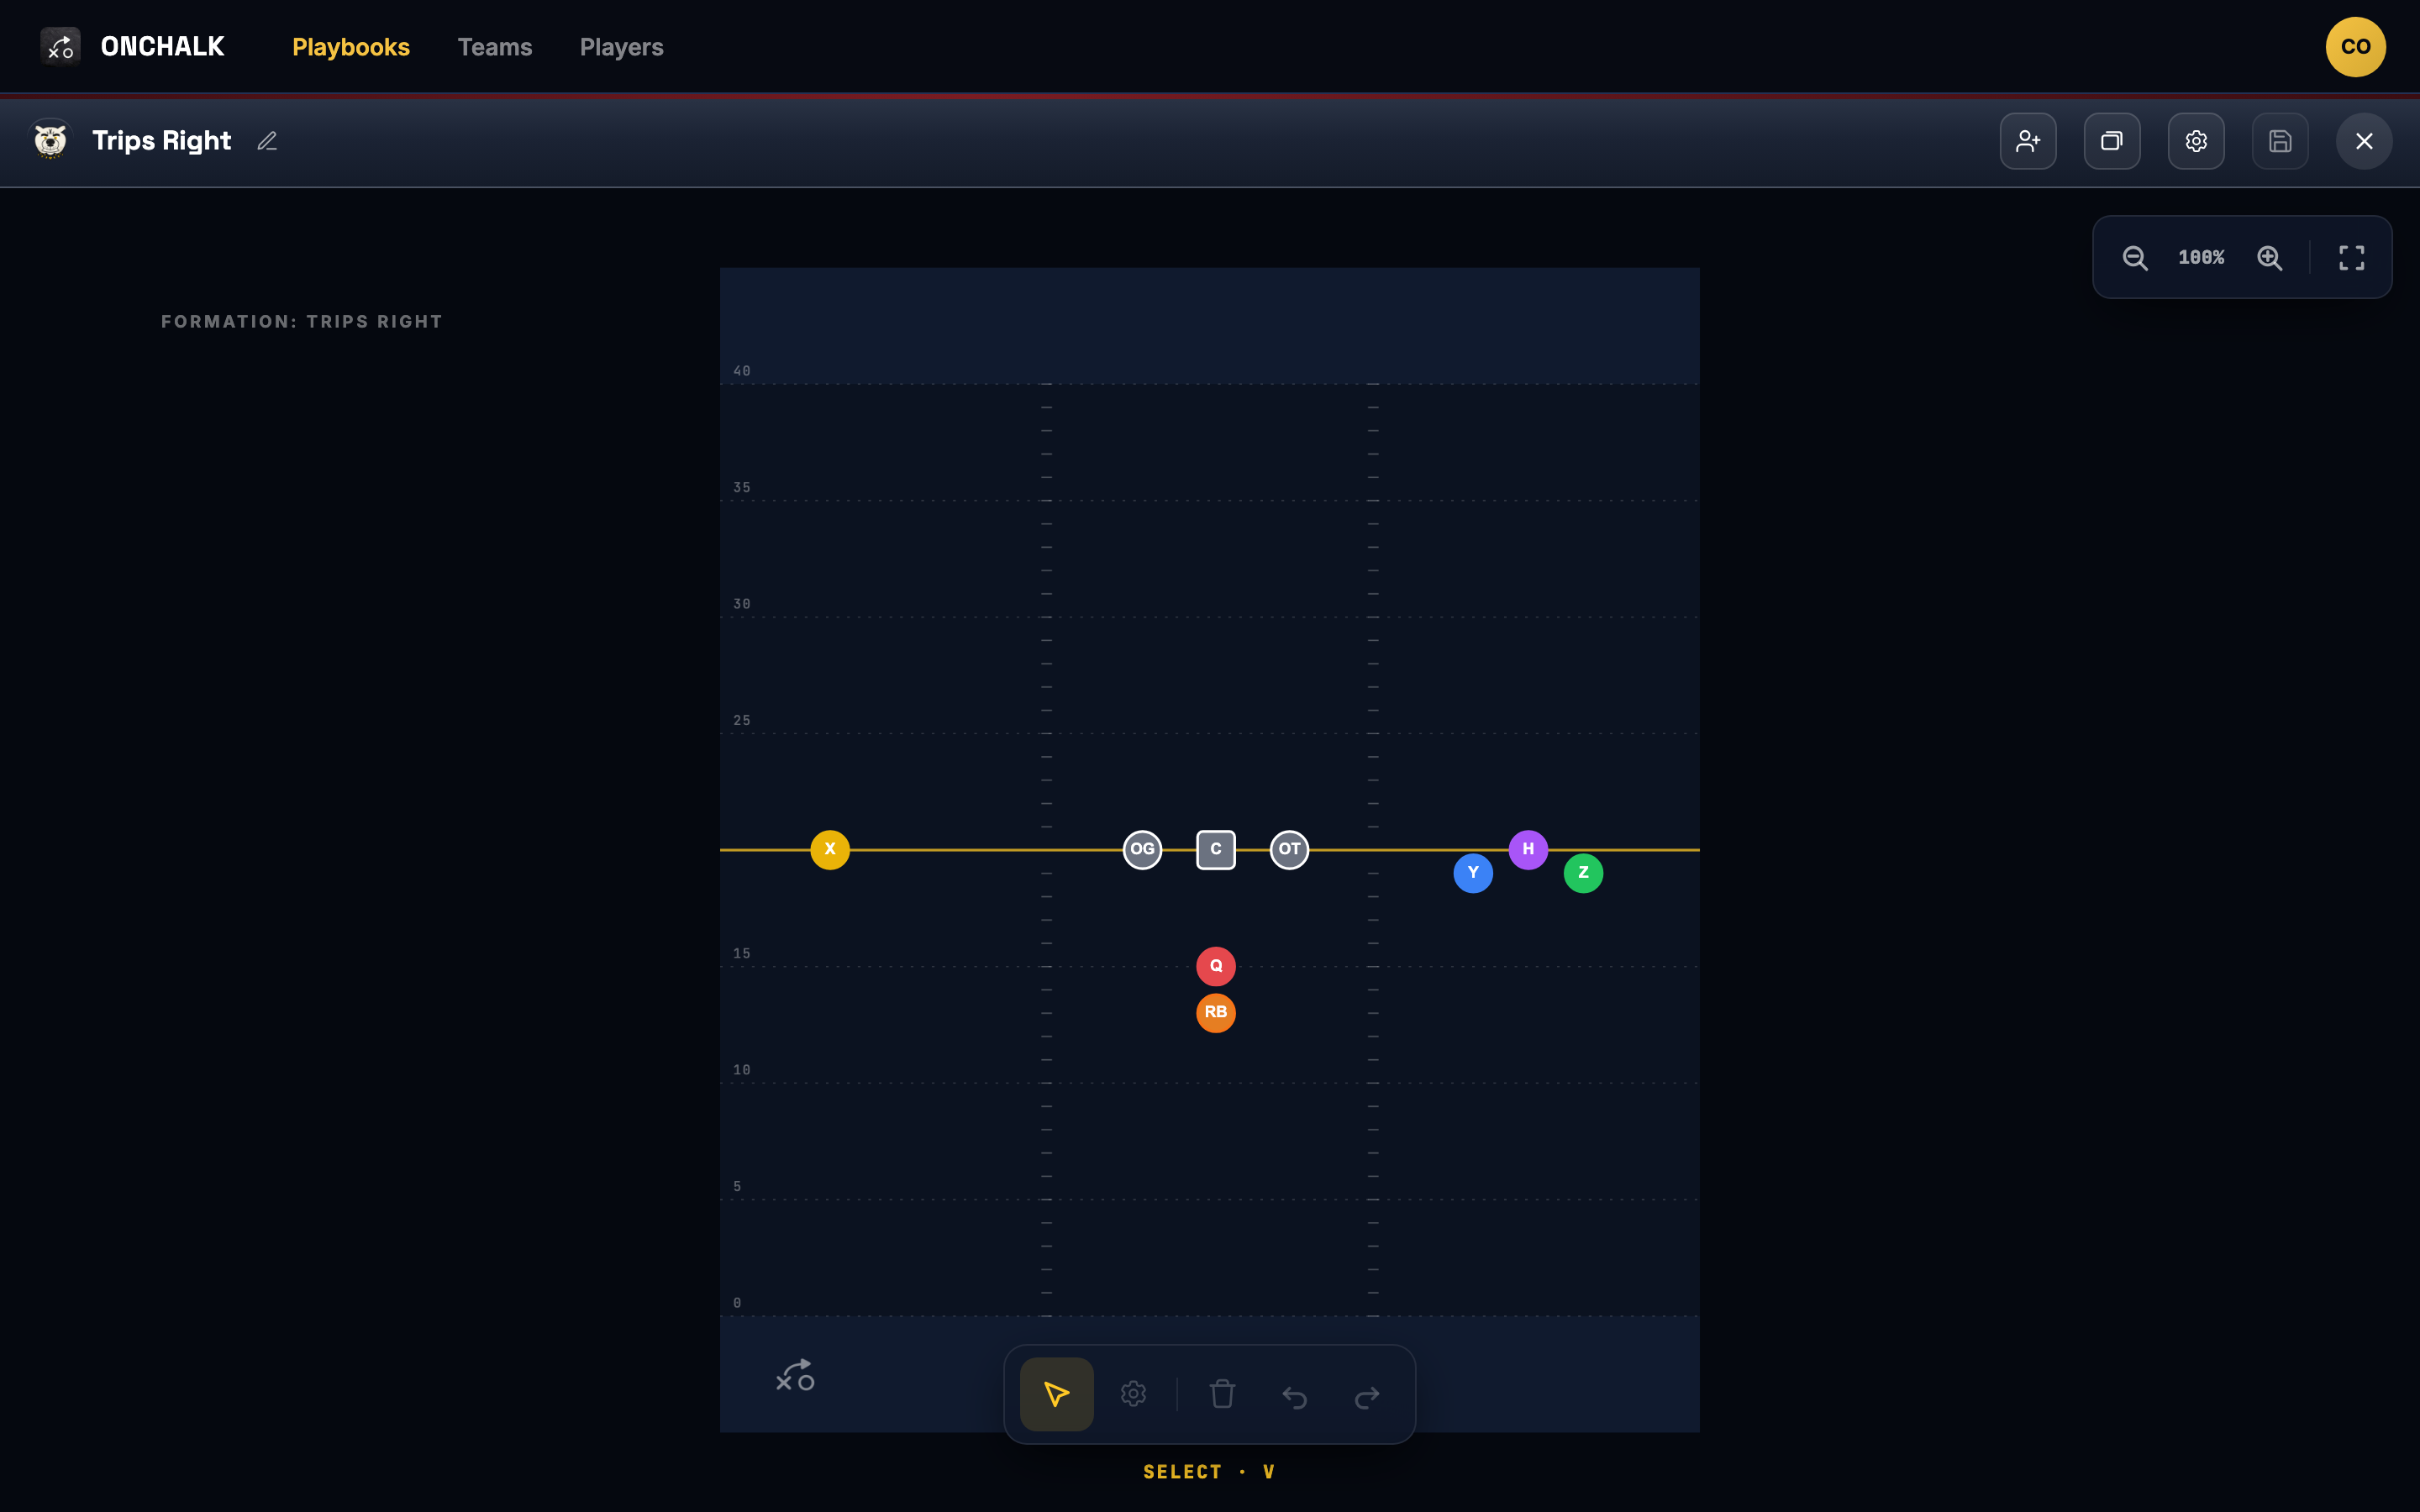
Here’s Trips Right laid out: X split alone to the left, the line over the ball, and the H / Y / Z trips bunch to the right, with the Q and RB in the backfield.
Get the spacing honest
Nudge the alignment until it matches what you run: splits, backfield depth, where the wings sit relative to the tackle. This is worth two extra minutes. Your players study these diagrams on their phones, and if the picture doesn’t match Saturday’s alignment, they learn the wrong thing well.
Save it to the playbook
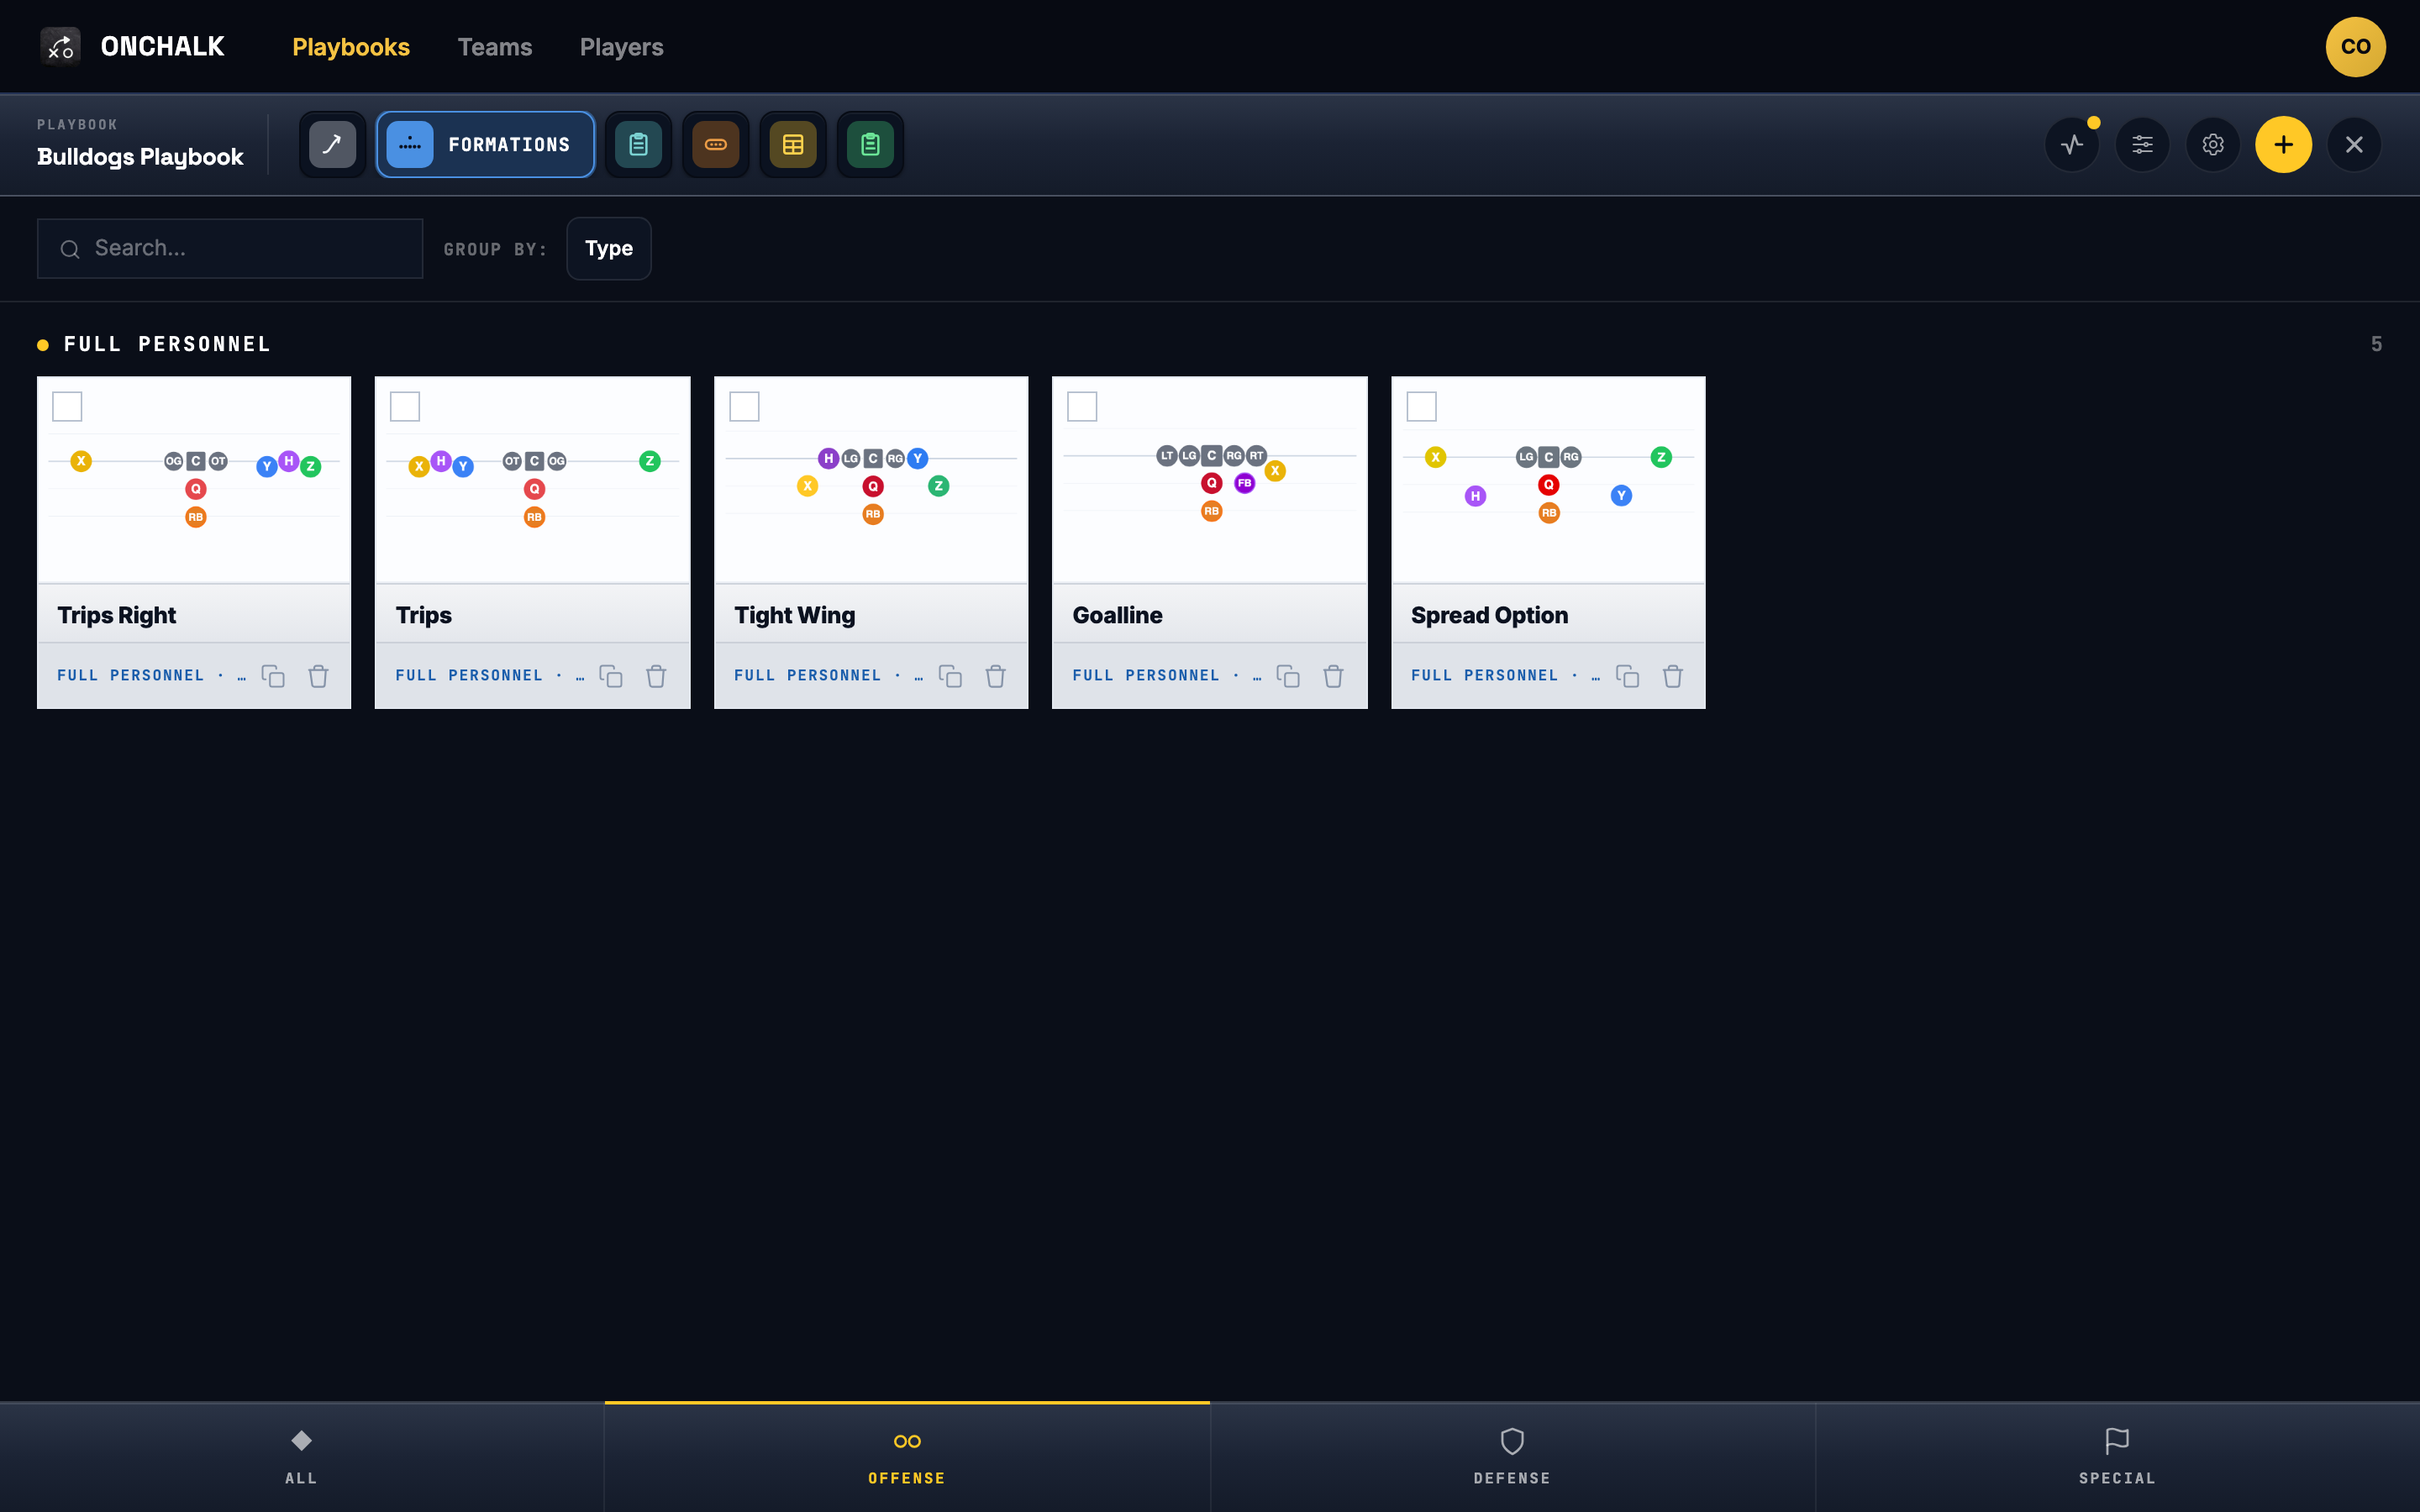
Save the formation into the same playbook as your plays. It joins your formation list. Here’s Trips Right saved alongside the rest of your offense. Ready to stamp into the next play you build and it’s portable, so it travels with your coach profile between teams and seasons.
Then build plays on it
With the formation saved, creating a play becomes a shorter job: pick the formation or combine the groups you want. Give each position its assignment, draw the routes, tag it, save. Group your plays library by formation and you can see your whole offense the way you install it — every play out of Double Wing in one block, every Spread play in the next.
How to create a play, start to finish.